
Stamps with Color Pencils

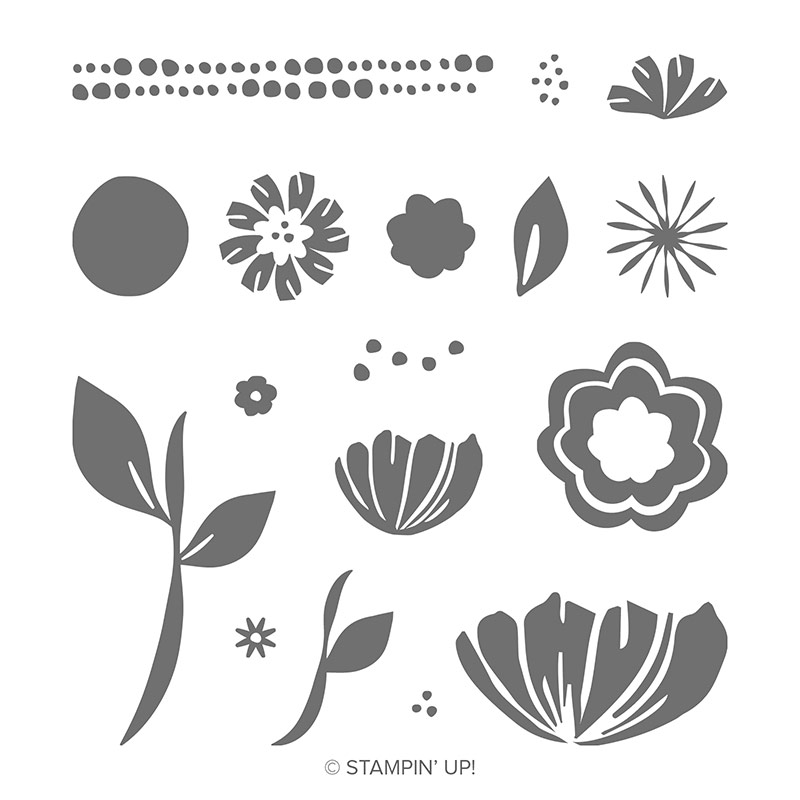
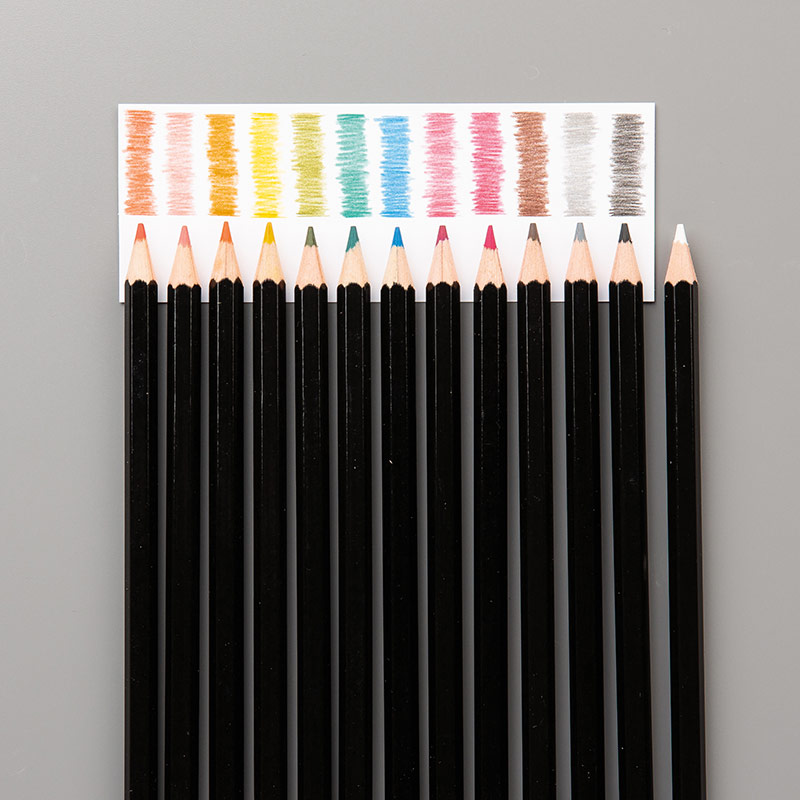
Have  I mentioned how much I love the Bloom by Bloom stamp set?  This botanical set with a little bit of a MOD look really caught my eye.  It really adds a nice modern pop to any stamping. Because of the fresh graphics it also leaves options open to change the effect each bloom gives.  In my card below, I used colored pencils to ad a little depth to this card.  And, if that weren't enough, I added a little pizzaz with some wink of stella.  Because of the look of these blooms it reminds me a bit of Nordic designs. 


The large blooms were from Bloom by Bloom but, the smaller additions were from Share What
you Do stamp set and a combination of old Paper Pumpkin stamps.  This is why Paper Pumpkin 
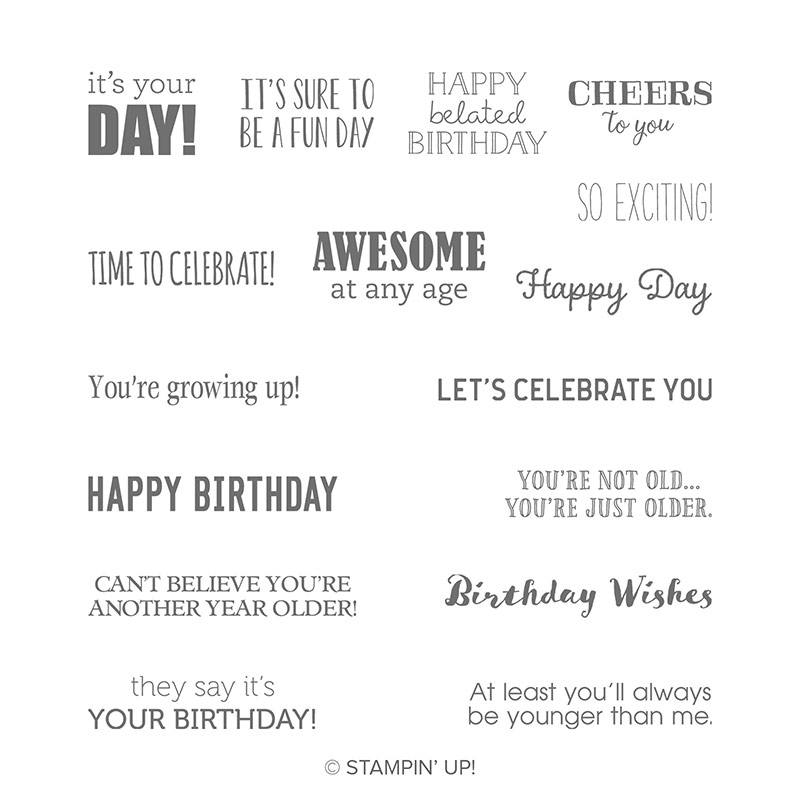
so so awesome.  In each kit you get a stamp set that you can keep using.  Finally, the sentiment is from the new Itty Bitty Birthdays Cling Stamp Set.

Below, I have links to what I used.  As with most of my cards I used an A2 envelope and 5 1/2" x 4 1/4" Card base. Unless I otherwise say differently, I use whisper white cardstock and envelopes.

Stampin' Pad colors I used were: Lovely Lipstick, Mint Macaron, Shaded Spruce, Blushing Bride, Calypso Coral, Lemon Lime Twist and Pumpkin Pie
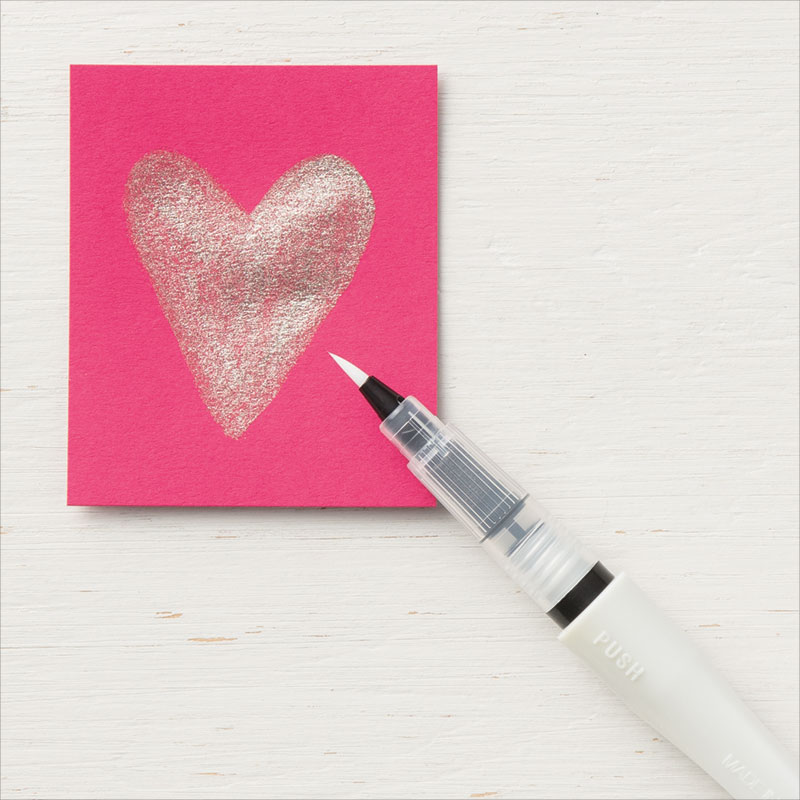

Clear Wink Of Stella Glitter Brush
Wink of Stella 
Itty Bitty Birthdays Cling Stamp Set


Comments

Popular posts from this blog

Christmas "Sour Cream" treat packs

It's the time of year when it seems like we all should have some goodies stashed away and at the ready to give to someone for Christmas.  Whether it's co-workers, class-mates or just your favorite Barista, they all have one thing in common.  They love feeling appreciated.  What better way to do that then a cute handmade treat packet? Not everything I created is available so, I've also included some suggested items that are available still at my shop. This packets could fit about 3 Lindt chocolate balls. Once you get on a roll, these are fast fast fast. For this design, you'll need: SU! DSP cut to 6"x6" Tear Tape or strong adhesive (Do not use liquid glue!) Embellishments of choice. Instructions Apply tear tape to 3 sides of your DSP.  This side is the side that will not be see Start Rolling the DSP at sing sticky side.  Adhere this side to non-sticky side You should have something that looks a bit like a Toilet paper roll Pinch one end toget...

This Month's Card Swap

July's Card Swap at the Beehive was amazing! 17 cards.  Have you ever been part of a card swap? They are so much fun.  Depending on how many crafters are involved determines how many cards you make.  So, this month there were 17 crafters.  So, I made 17 of the same card and sent them off to the swap host.  Once the host received all participants cards, she will divvy them up, send them back and I get 17 different unique cards that I can use to send to friends and family or, use them for inspiration. Want to get in on the fun & enjoy the best deal in the catalog? Sign up for the starter kit and pick out $125 worth of product (of your choosing), a free paper pumpkin kit, and 20% future purchases for $99.   Below are the cards I received and what products were used.  Click on the product to see it at my shop. Woven Heirlooms Stampset Stamped So Sweetly Die Set Ornate Floral Embossing Folder Ornate Boarders Dies Ornate Layers Dies...

Gather Together Bundle

 Did you hear? The Mini Catalog is here! WOOT WOOT! Click here to see it online .  You can also become my customer and I'll mail you all of this years catalogs for free.  A $15 value.  This simple card will make a big impact.  Can you believe it took me about 15 minutes or less to make? Here's what I used: Gather Together Bundle Plaid Tidings 6x6" DSP Merry Merlot Cardstock Pumpkin Pie Cardstock Gold Emboss Stampin Demensionals Linen Thread